Payment Service SDK
Seamless crypto payments
With our payment SDK you can Integrate our payment flow directly into your online store through simple code and increase your conversion rate. Your branding and styling remain the same and we take care of everything else.
3rd Party integrations (e.g., WalletConnect) are not supported in the SDKDue to security reasons, direct integrations with wallets are not supported in the SDK or in embedded payment windows. For the best experience, it is recommended to open our payment window in a new tab.
Payment SDK
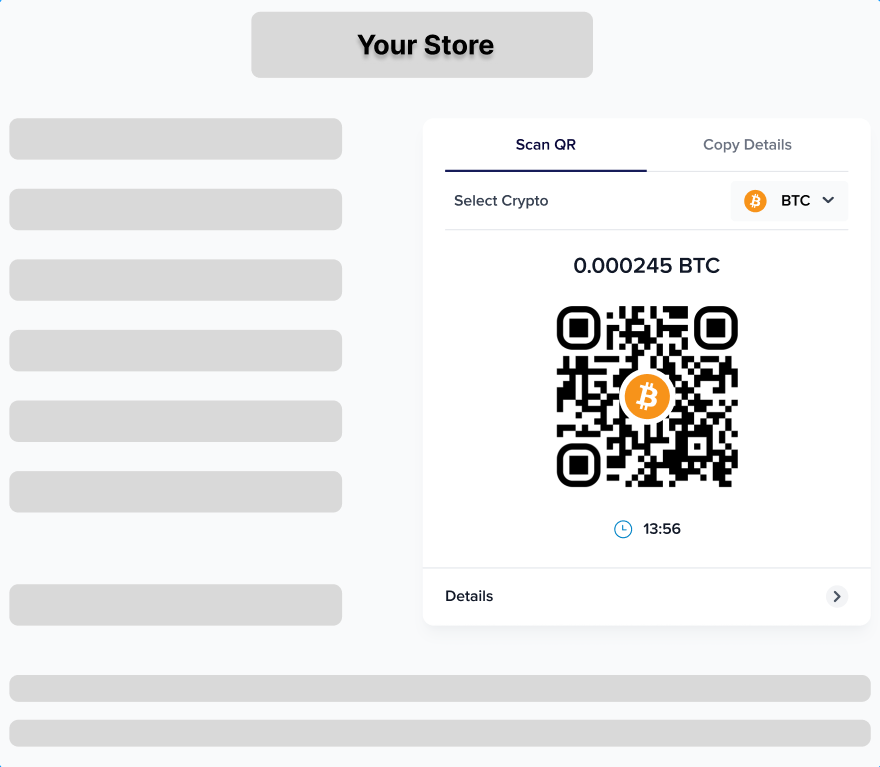
In this guide we will walk you through the process of integrating our SDK to your web application. The client-side and server-side code uses our payment window with multiple options to complete the payment. Your customers can select which cryptocurrency they want to use and then scan the QR code or copy the details to their wallet.
Start by implementing our payment intent API into your server-side code by used a dedicated API endpoint. The POST /v1/payment-intents will return a paymentIntentId which you need to initiate a checkout flow in your frontend. Do not forget to subscribe to our webhooks.
Web
- On your server, create a payment intent with POST /v1/payment-intents
- Render the payment window inside your checkout page
- You can load the SDK from this URL on sandbox:
https://checkout.sandbox.coinify.com/sdk/v1/index.js
Example HTML for loading payment window in sandbox environment
<!DOCTYPE html>
<html lang="en">
<head>
  <title>Coinify SDK example</title>
  <script type="text/javascript" src="https://checkout.sandbox.coinify.com/sdk/v1/index.js"></script>
</head>
<body>
    <div id="container-id"></div>

	<script type="text/javascript">

      const payment = Coinify.Checkout({
        paymentIntentId: "{paymentIntentId}"
      });

      payment.render({
        containerId: "container-id",
        parameters: {
          themeMode: 'dark', // or light
          theme: {},
        },
      });

	</script>
</body>
</html>- Utilise the payment intent events and Webhooks to control each payment & keep your system up to date with the payment statuses.
Important security note:You should only trust the webhook as the source of truth of a successful payment transaction** and that the event listener is only meant for UI purposes. Please see and implement How to set-up a webhook and How to check the webhook signature.
EventsBy using communication events between the payment window iframe and your parent page, you improve user experience and create better control over the checkout session. Each event represents a change in the payment state.
Payment processing events:
Payment window sends coinify.payment-intent.updated event on each change of a payment intent. The message looks as following:
{
  type: 'coinify.payment-intent.updated',
  stateReason: 'completed_exact_amount',
  state: 'completed'
}
To see the list of possible states please refer to our state section of our documentation.
To see the list of possible stateReasons please refer to stateReason section of our documentation.
Here is an example on how you can listen to these events using payment SDK:
<div id="container-id"></div>

<script type="text/javascript">

  const payment = Coinify.Checkout({
    paymentIntentId: "{paymentIntentId}"
  });

  payment.render({
    containerId: "container-id",
    parameters: {
      themeMode: 'dark', // or light
      theme: {},
    },
  });

  payment.on("coinify.payment-intent.updated", data => {
  // data is an object containing data about the payment
  const { state, stateReason } = event.data;
    if (state === 'completed') {
      showSuccessUI()
    }
	})

</script>
Styling
You can style the payment window to match your brand colors. To do that you can provide an object which has to be a valid JSON to theme parameter.
Theme object example
payment.render({
    containerId: "container-id",
    parameters: {
      themeMode: 'dark', // or light
      theme: {
        borderRadius: '8px',
        backgroundColor: '#122C34',
        borderColor: "#224870",
        textColorPrimary: "#44CFCB",
        textColorSecondary: "#4EA5D9",
        textColorTertiary: "#2A4494",
        iconsColorPrimary: "#122C34",
        actionColorPrimary: "#44CFCB",
        actionColorPrimaryHover: "#44CFCB",
        actionColorSecondary: "#224870",
        actionColorSecondaryHover: "#2A4494",
      }
    },
  });